
I'm just a novice seamstress, so of course I messed up, so you may not want to follow my instructions literally, but hopefully you will be able to do a better job than I did.
First, you need to decide just what you are going to be using your bag for, so you can get good measurements. I think I used about an inch and a half to allow for seems and wiggle room on the bag, so you will need to measure how wide your item is, and then add the seem allowance for the width. For height, or length of the fabric, I usually measure from front to back under the bottom (like a U that goes under the box). You will need to add extra so you have room to add the drawstring and pull the top shut, I usually figure this out by just playing with the fabric until it looks right. I can't really give you a definite measure for every bag, because depending on how big your box is, you will need to allow more or less extra fabric. (Like I said, I goofed this time, so I had to change how I was making the bag.
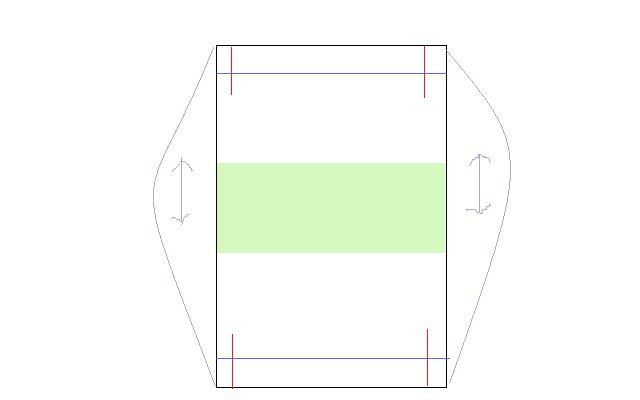
Heres how it works, more or less: You start by by folding the sides over about half an inch across the red line. You only need about half an inch folded over, this just helps make a neat end for the drawstrings. Sew that. Then, you will hem the top, as shown by the blue line. This is where the drawstring will be placed later, so make sure that it will fit! Now, just fold so the two top side meet,and sew along the long edge, as sort of marked by the lavender lines. I've taken pics of the process so far:
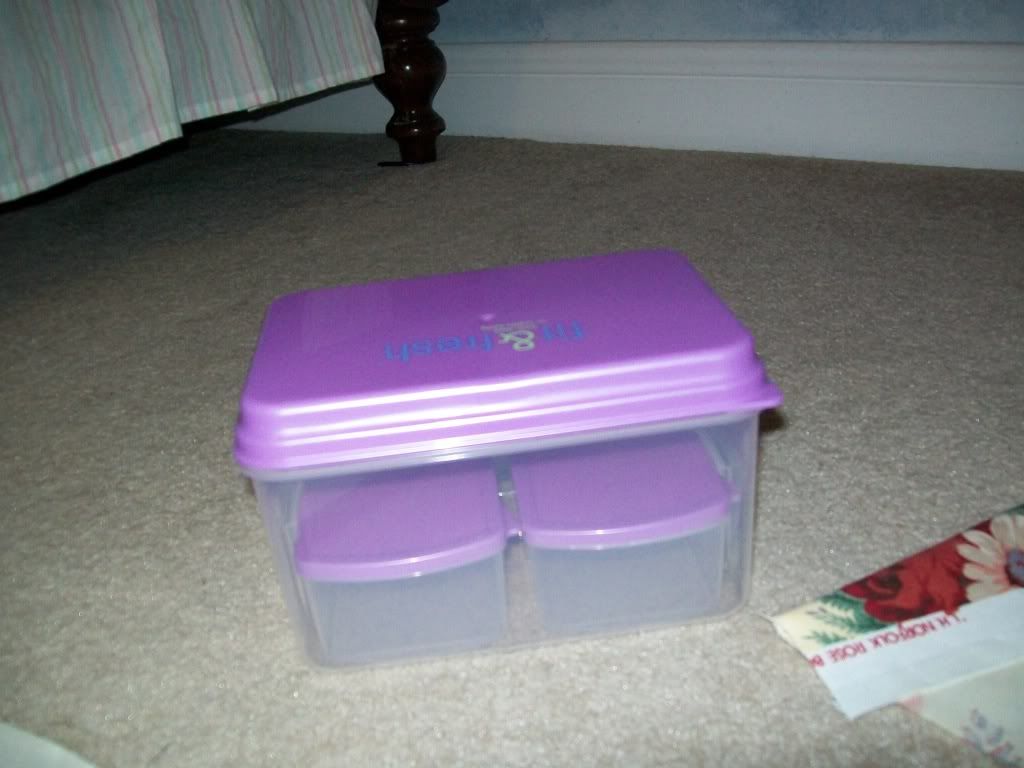
I'm using this for my lunch/bento box, so I pulled it out:
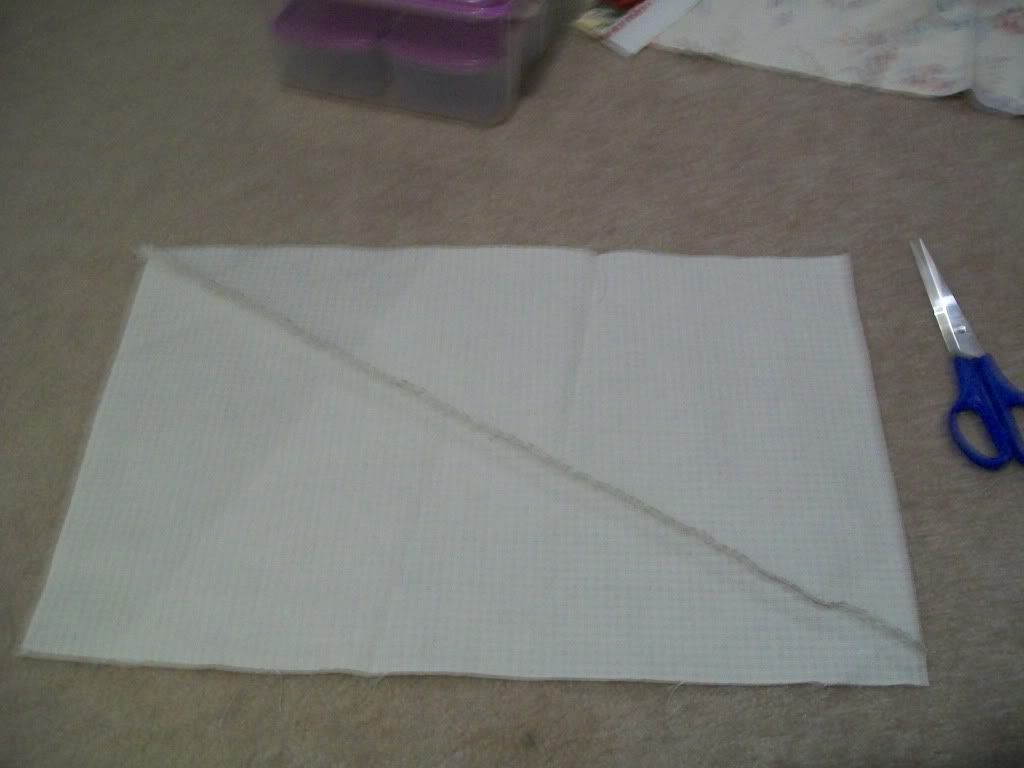
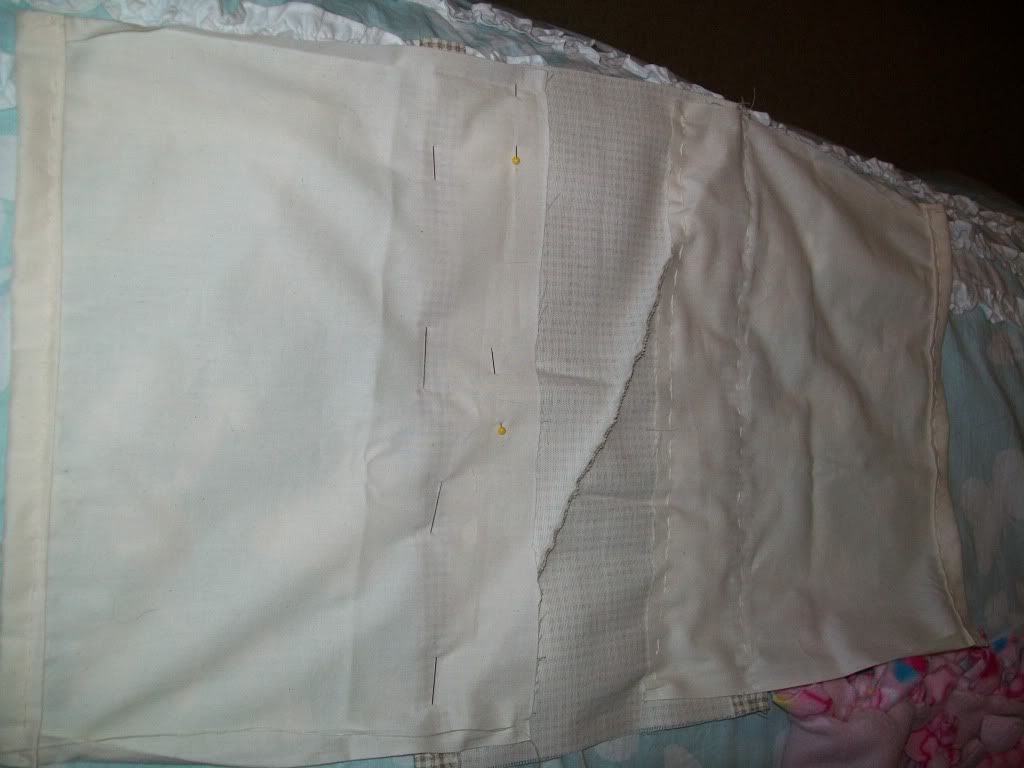
For this bag, I wanted to make the top and bottom of the bag from two different fabrics. I ended up choosing the bottom fabric out of the scrap pile, so it was in two pieces, thankfully, they were triangles, so I just sewed them up into a rectangle:
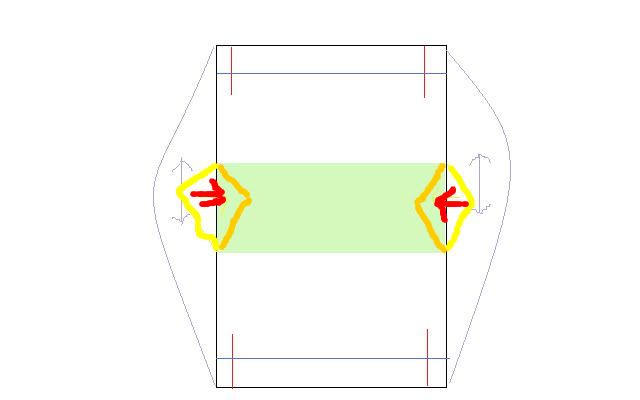
Now, This is where things got a bit hairy for me, but if I think that they turned out fine. Originally, I was going to just make the top portion of the bag long enough so that I just had to stitch the bottom on without ever having to cut the top into two pieces, but yeah... I failed in my measurements, so I had to cut it anyways. In the diagram above, I marked what becomes the bottom of the bag with the green rectangle.
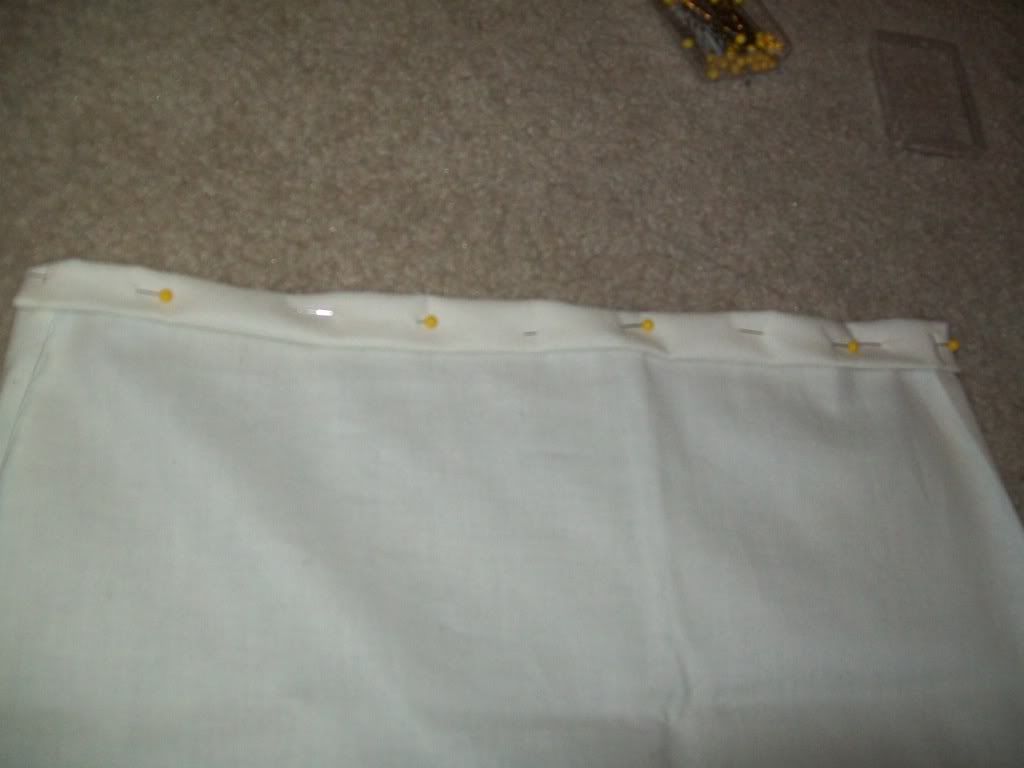
Normally, I start off by sewing about half an inch of each side toward the center of the bag:
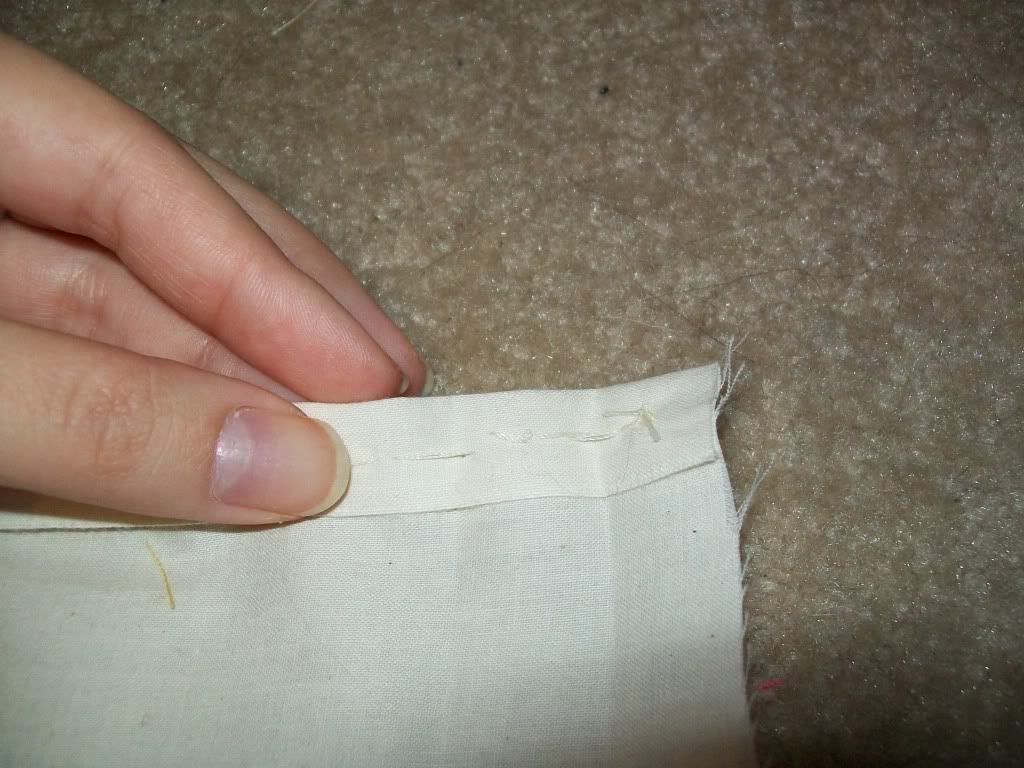
This will allow for a clean edge when you put in your drawstrings... In the picture, I've sewn the edge, and you can see the fold where I will now hem the top of the bag.
See how the side slightly go in at the top where I stitched the sides? When you sew the top, the side view should look like this:
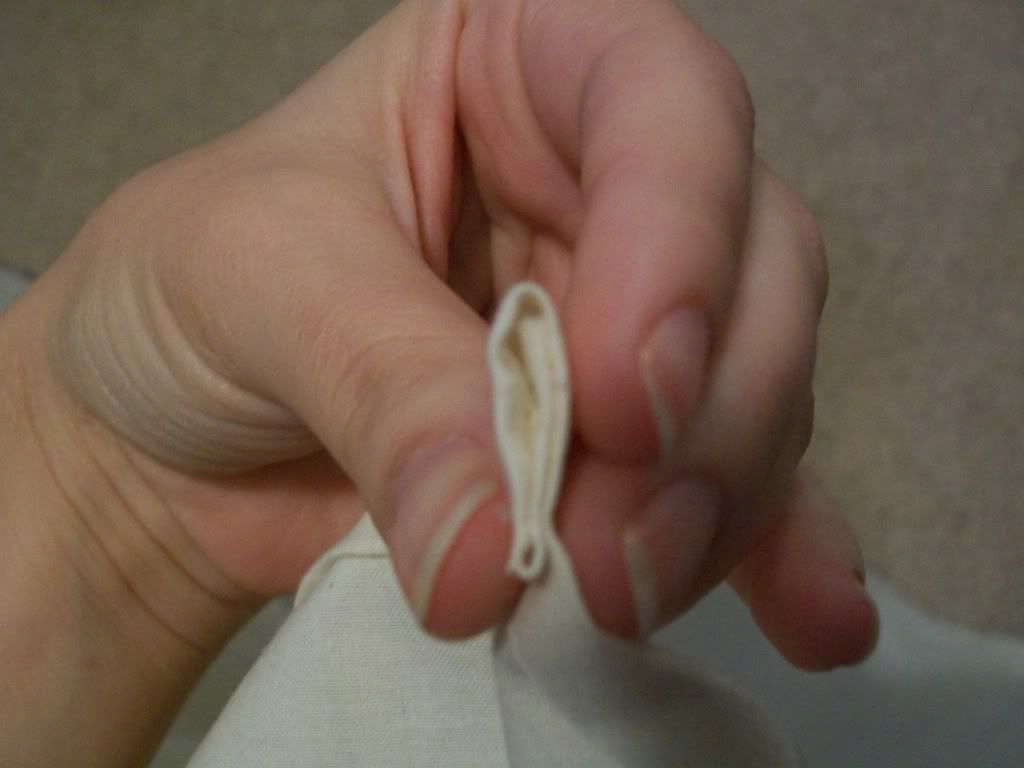
Nice and clean! This is a finished edge, Don't sew over it later!
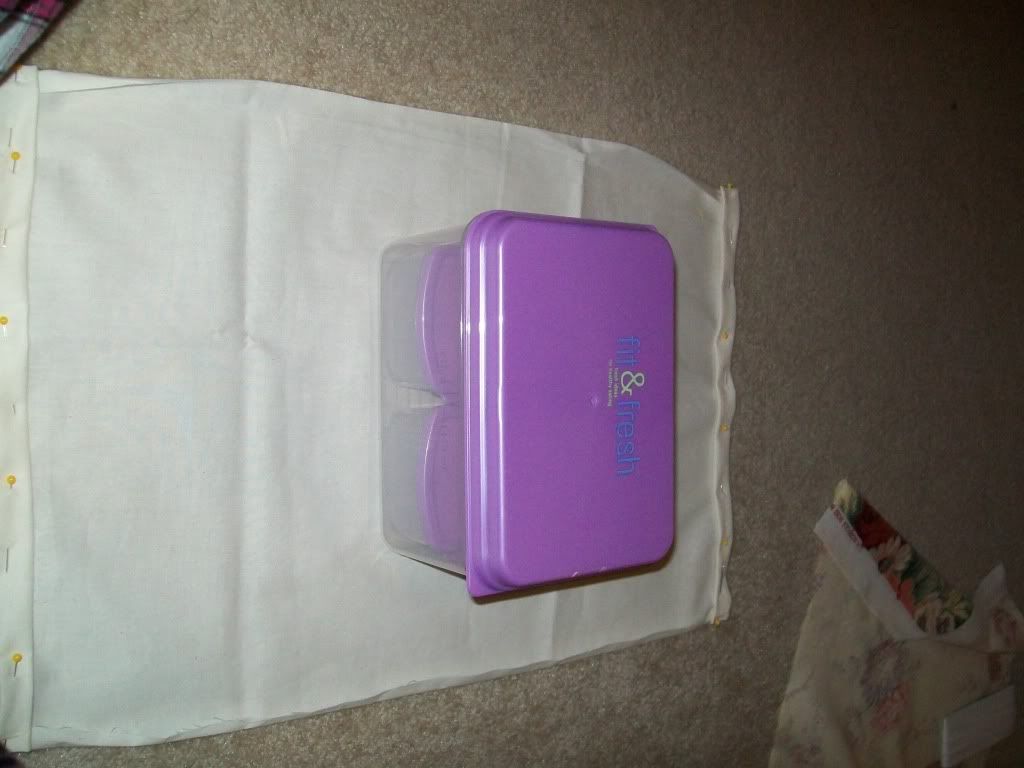
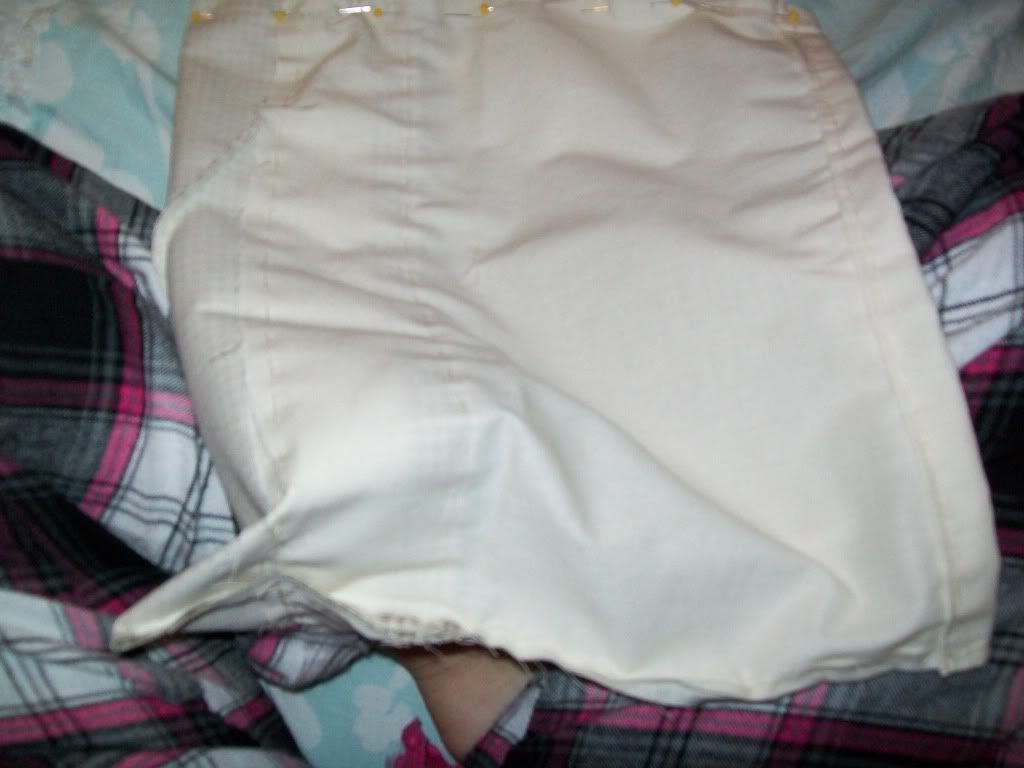
Heres a shot of me checking the length of the bag- this is where I noticed that it wasn't quite long enough:
So I cut the one piece into two:
And then used the bottom of the bag to compensate:
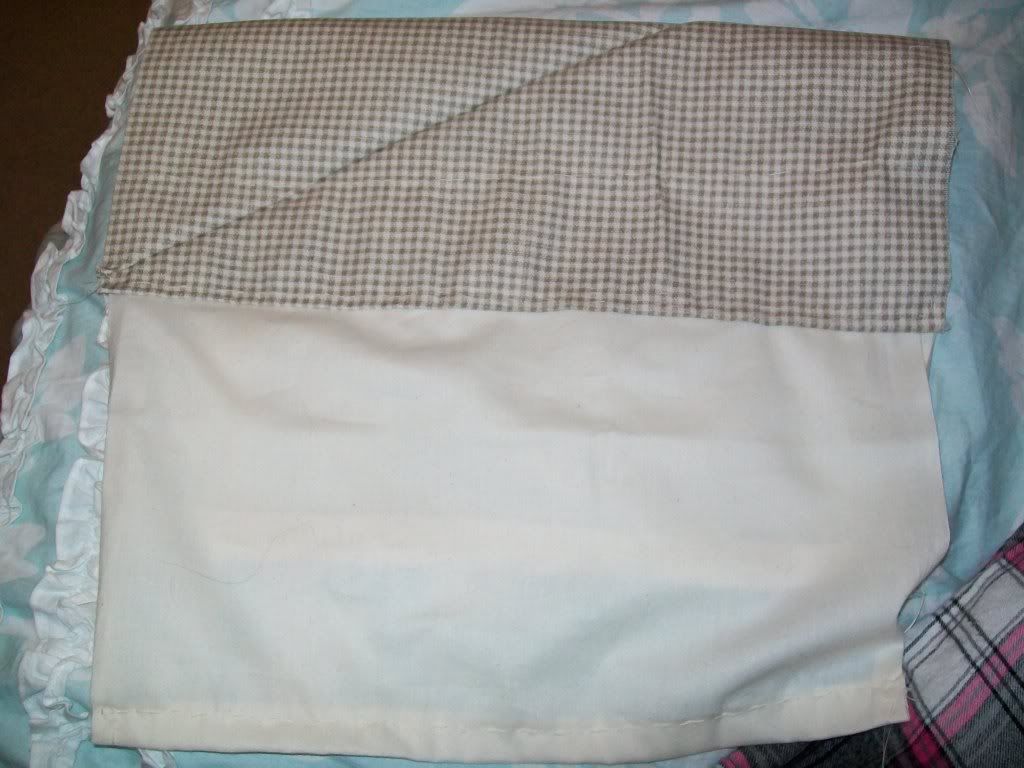
Can you see in the middle where I am adding length by allowing some of the bottom to go unlined?
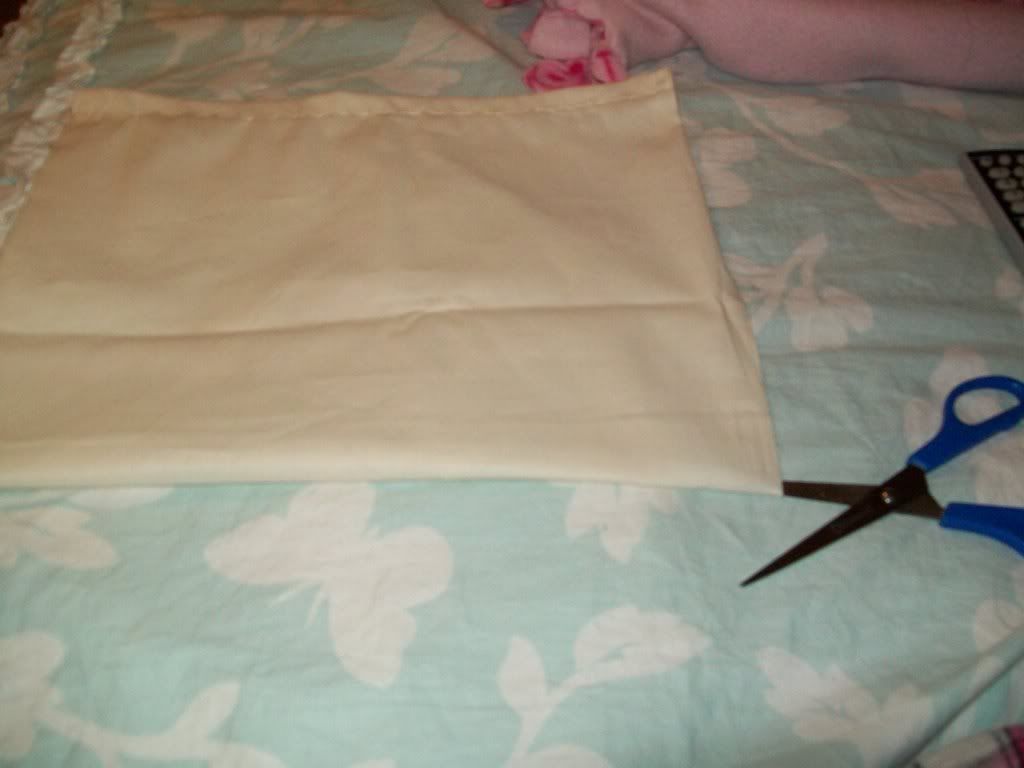
It looks like this from the "right" side now:
Now, if you got your measurement right, you can skip all of this and go straight to sewing up the two long sides of your bag, stopping at the rolled part at the top. Don't sew over you topmost edge! That pic I showed you of your nice clean edge? You just leave it like that, its already finished.
By now, we should be caught up to our diagram:
Yep!
So lets make the bottom of the bag nice and flat. If you just leave it like this, your bag will be U shaped on the bottom, and while it would work perfectly fine, if you square off the bottom corners your box will sit nice and still without moving around in the bag.
If you will flip your bag out wrong side and pinch the bottom corners, you will notice that the bottom becomes very flat. This is how we will make it sit flat always.
The yellow "triangle" (sorry, I used paint to draw this) marks the part that will be "pinched" to make the flat bottom. The orange marks were the triangles will sit in the finished bag.
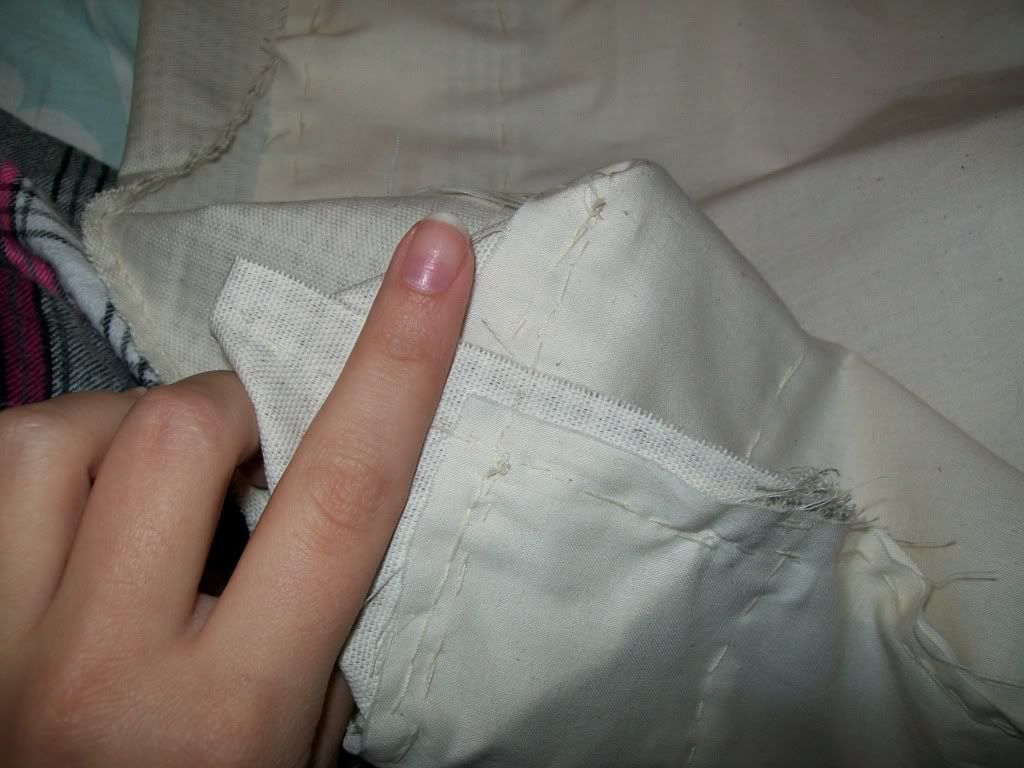
Basically, you just follow the triangle back the point where the bag meets itself and naturally forms a square corner. Play around a bit, you will be able to find it! I usually pin the corner and then flip the bag right side out to test and make sure the corner is sitting right, But I've already done that in these pics.
Your bag is now in the home stretch! Once you have both corners sitting flat, you can just fold them down on the bottom of the bag. I usually give mine a quick stitch or two so they stay neat.
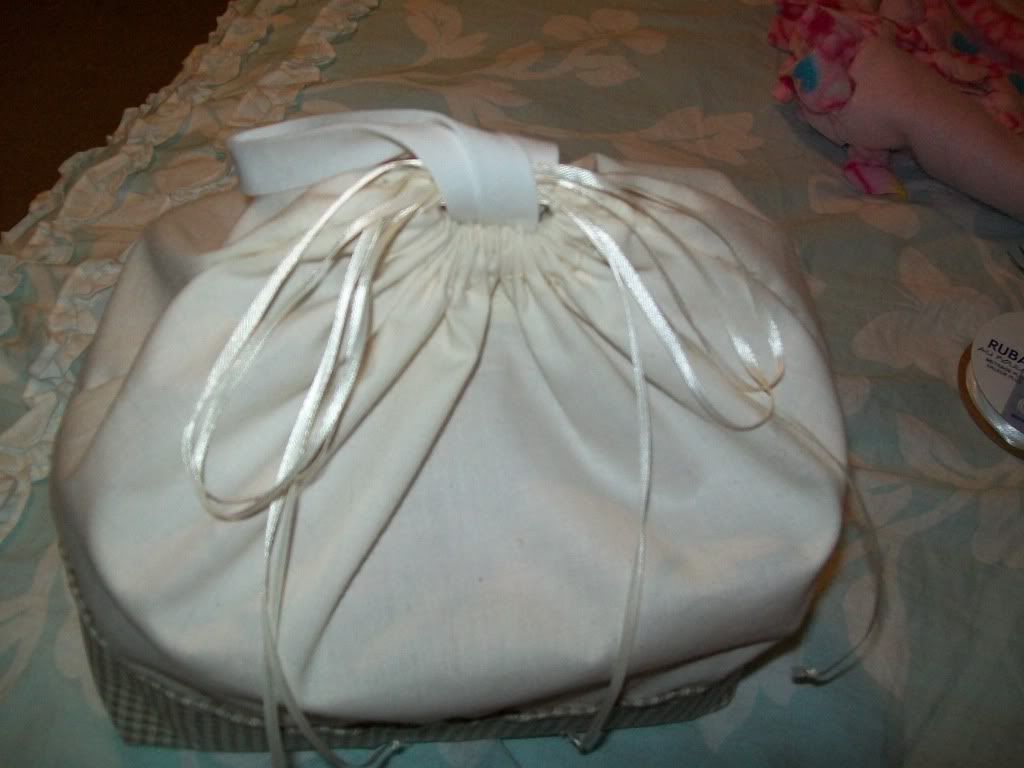
Now just flip your bag right side out and add your draw strings. Remember to do them as though its two Us facing each other, and not going the same way, the first time I adding my strings, I did it wrong, and got confused, but I got it right in the end!

See how one sting is headed away from the other? This allows you to pull on the stings and get your bag tight fast! Each top hem will have two strings in it, both "heading" in different directions, and each side of your bag will have a set of strings poking out and the middle of the other string hidden. Up in the diagram, the lavender lines are pretty much how you add the draw strings... I didn't notice until I was double checking everything, but you can use them as a guide! Just imagine that they keep going through the hems marked by the blue lines.
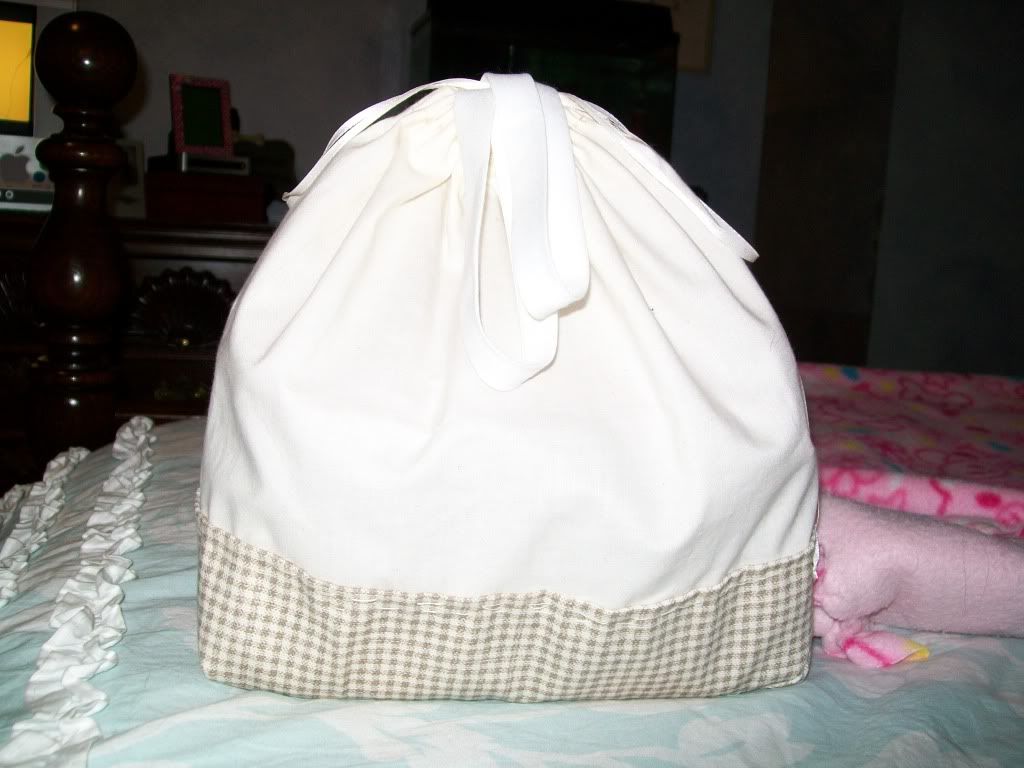
TADA! I've added "handles" to this bag, but they are optional.
I know this isn't the most esily followed post, so do let me know if you have any questions. I took more pictures, but most were related to the extra steps that you hopefully won't have to do, so I left them out. If you would like to see them, just let me know!
No comments:
Post a Comment